
Generate Signed APK / Bundle
First method (using Android Studio only)
Step 1
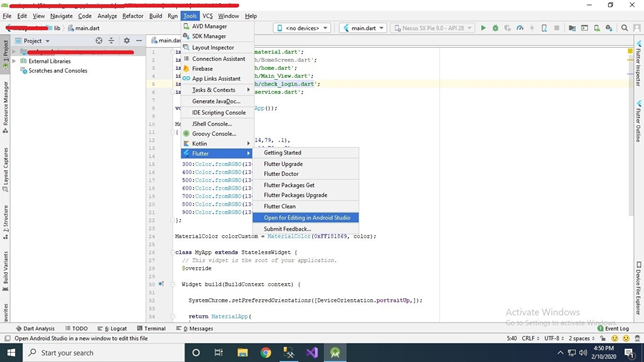
In android studio go to Tools -> Flutter -> Open for Editing in Android Studio as shown below, this will open the android folders separately
In case “Open Android module in Android Studio” option is missing, run the command “flutter create .” and restart Android Studio
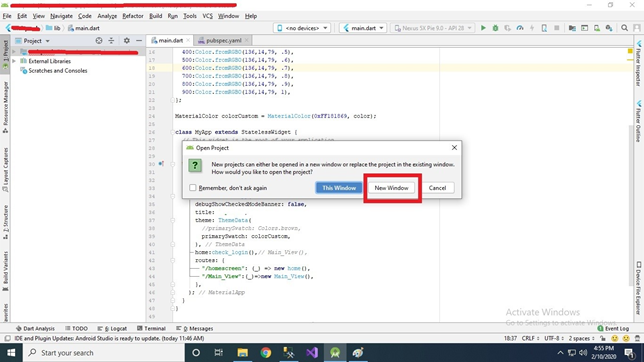
Then Select New Window option as shown below
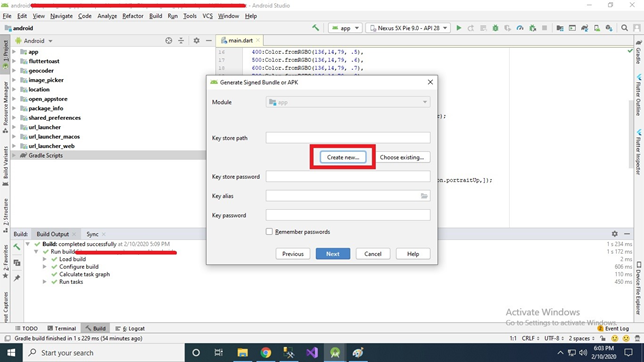
Step 2
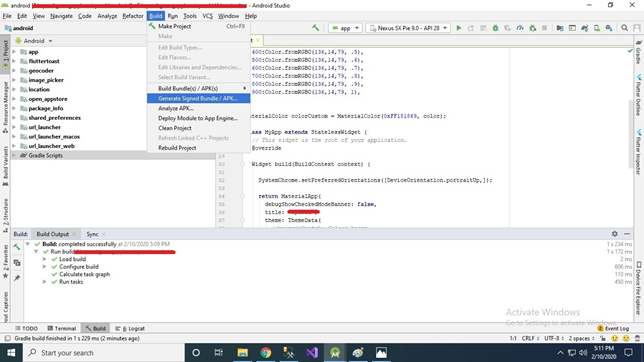
Wait for while until project synchronization. After that Go to Build -> GenerateSigned Bundle/APK... option from menu bar as shown bellow
Step 3
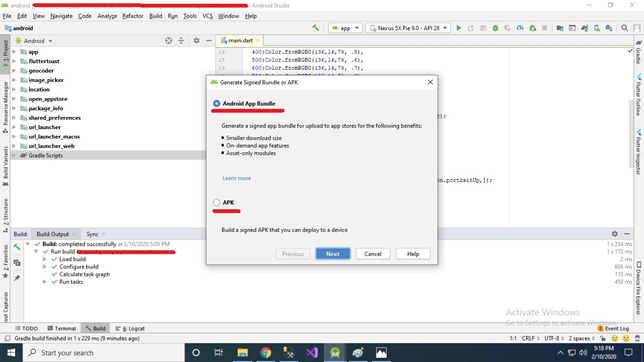
Select Android App Bundle or APK Option as per your need. (Android App Bundle is best solution) and click Next button.
Step 4
Select Create new.. option to generate new Signed key (When you release your app First Time)
Step 5
Fill all options as follow
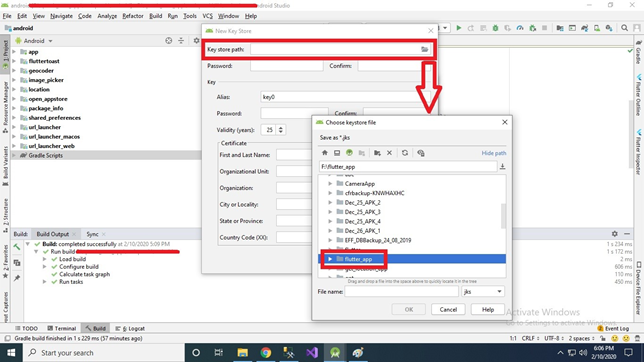
Key store Path - Path where your key store file i.e .jks file stored (as shown in the above image). [Best way Select the path within your project directory.]
Key store password - Enter password e.g. 123456
Key alias - Enter Key alias (Name of .jks file) e.g. key
Key Password - Enter Key password (Choose different password than Key store password) e.g. key123456
Validity(years) - Keep it as it is or change as per your requirements.
Certificate - Fill certificate information (Not all fields are mandatory) Then click OK and you will get following screen...
Step 6
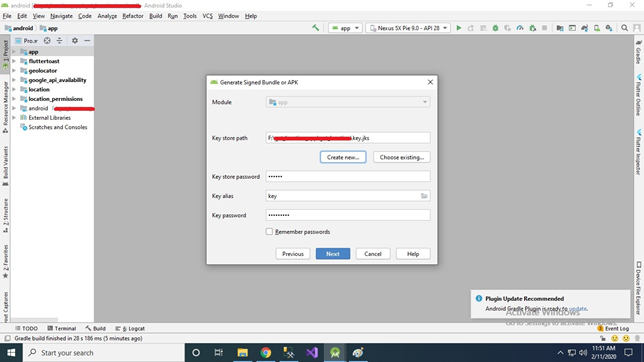
Step 7
Click Next and you will get following screen...
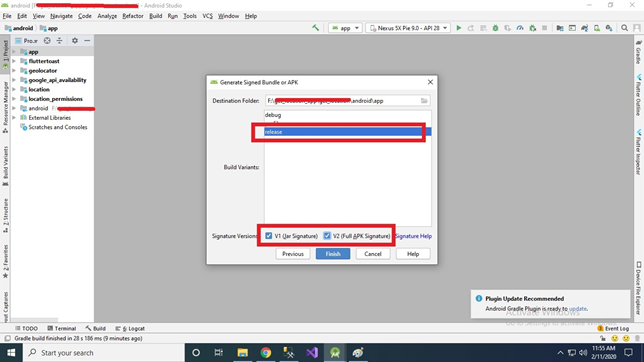
Select options
Build variants - release and Signature versions both V1 and V2 respectively as shown above screen shot and click Finish button.
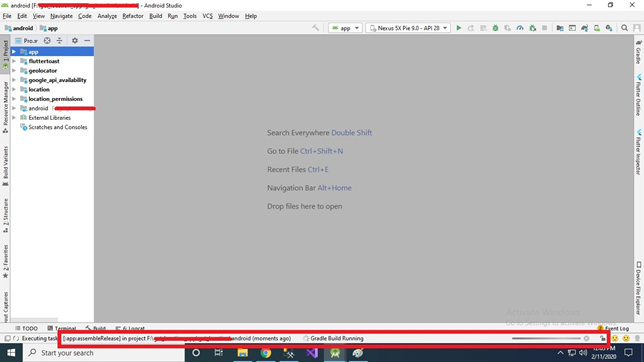
Step 8
Wait for a while until Gradle Build Running process complete as shown below...
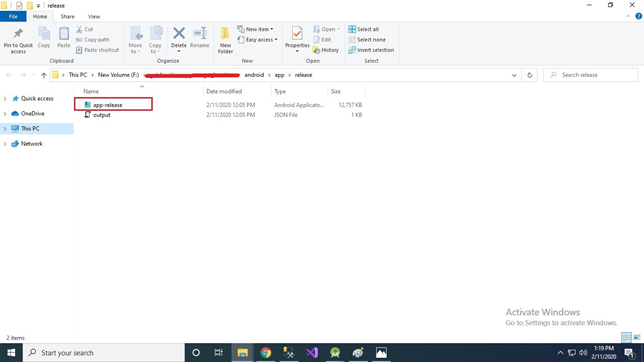
And finally you will get the Generate Signed APK : (APKs) generated successfully . from that click on Locate option to get Location of your Generate Signed APK Key. as shown bellow
That's it you generated Signed APK successfully for your Flutter project.
Please DO NOT lose the key and its all information i.e. Key store path,Key store password, Key alias and Key password (Best way write down it in to the note book or make text file and store on your drive while generating it.). Without this, you won't be able to update your application because the new release will need to be signed with the same key.
Second Method (using Android Studio, Visual Studio Code or any other editors)
follow instructions in this link
https://flutter.dev/docs/deployment/android